Why a framework keeps your project honest
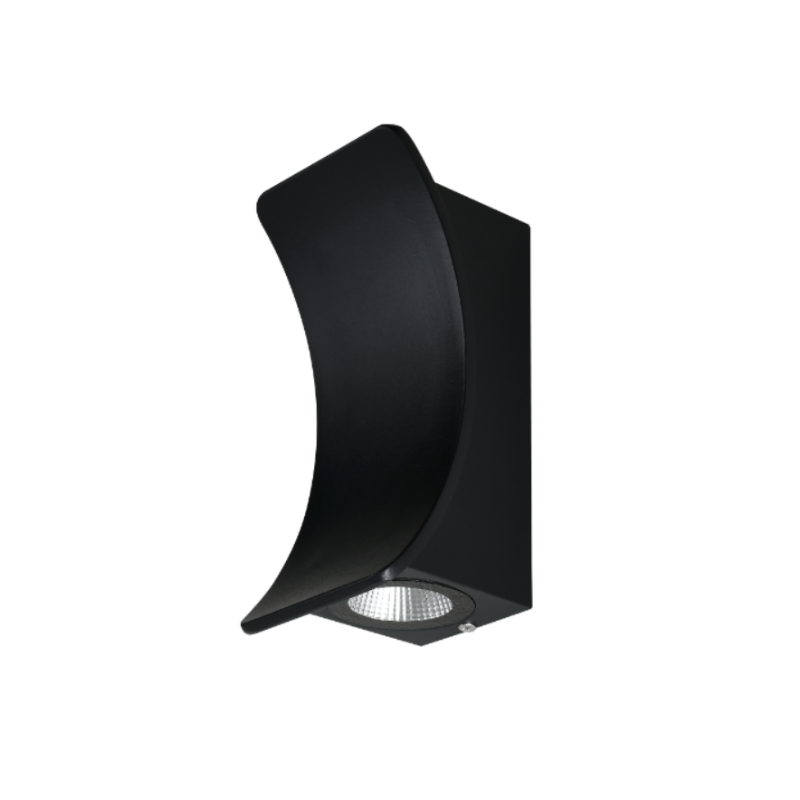
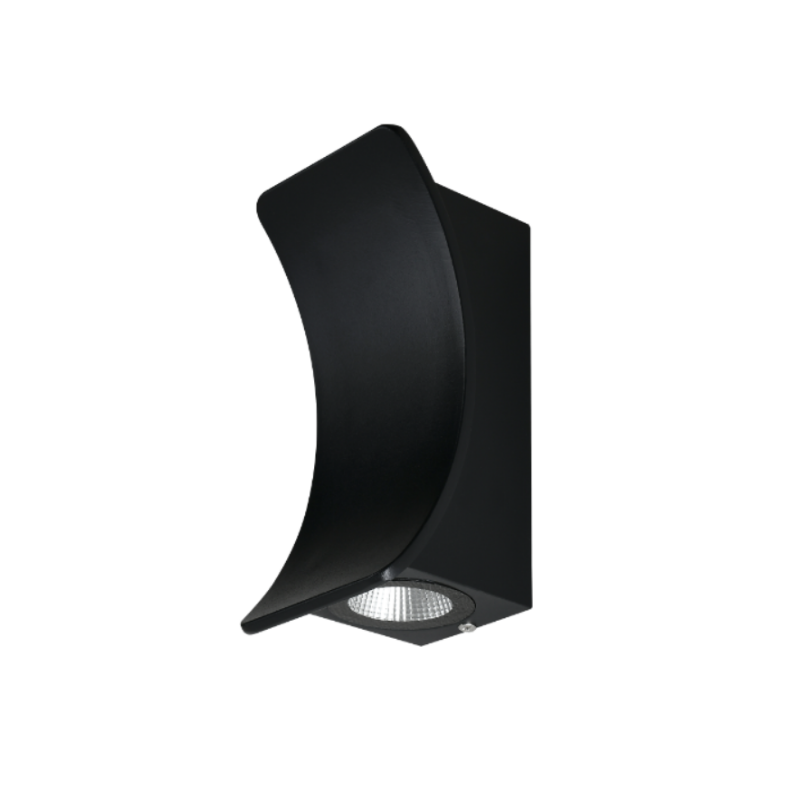
Folks, when you’re outfittin’ a large commercial façade, wingin’ it ain’t an option — you need a clear, repeatable plan. This framework walks you through performance targets, mounting realities, and control strategies so your fixtures actually behave the way they’re supposed to. Right off the bat, consider sensor strategy as part of the spec — for instance, an outdoor wall lights motion sensor can cut energy use and keep dark corners from bein’ a liability; couple that with realistic lumen output targets and you’ll sleep better at night.
Step 1 — Set measurable performance goals
Start by writin’ down the outcomes you want: uniform wash on the façade, accent for architectural features, and safe pathway illumination. Use numbers — target horizontal illuminance (lux), acceptable glare thresholds, and desired uniformity ratios. Don’t forget color: a high CRI’s worth considerin’ if the façade’s materials need faithful rendering. Early on, pin down beam angle ranges and lumen output so fixtures and optics are specified to meet the design intent.
Step 2 — Survey the site and detail mounting
Walk the building with a tape and a notepad, mark penetrations, expansion joints, and HVAC louvers. Big facades often hide problems: service access, wind loads, and cable routing can scuttle a neat concept. Pick mounting brackets and enclosure ratings that match the environment — an IP65 or higher rating is common on exposed walls. For context, think about the way AT&T Stadium’s exterior lighting had to account for enormous surfaces and heavy wind loads; that kind of real-world scale changes your fixture choices quick as a wink. Also plan for maintenance clearances so techs can swap drivers or sensors without scaffolding for every bulb change.
Step 3 — Pick controls and integration points
Controls make or break operating cost and flexibility. Decide whether you’ll use standalone photocells, networked daylight dimming, or motion-triggered zones tied to a central controller. A reliable photocell prevents fixtures from comin’ on at dawn; a smart driver with DALI or DMX lets you do scene-setting for events. And yes, think about commissioning — document control addresses, setpoints, and fallback behavior so the building manager isn’t guessin’ at midnight.
Materials, optics, and common gotchas
Pick housings and coatings that tolerate local climate and pollutants. Powder-coat failures and poor gasket details are where leaks begin. Optics matter: shallow beam angles give tight accents, wider beam angles suit wall washes. One frequent misstep is underestimatin’ thermal management — an undersized heat sink shortens LED life, and that driver replacement bill’ll sting. Don’t skimp on first-article testing with the actual driver and control scheme you’ll deploy — test on-site if you can. —
Procurement checklist and vendor alignment
When you’re evaluatin’ suppliers, use a short checklist: documented IP and IK ratings, verified lumen depreciation curves (L80/L70), warranty terms tied to operating temperature, and manufacturer support for field replacements. Ask for timing history — who’s met deadlines on similar large-scale jobs? Tie acceptance criteria to verifiable tests (photometric reports, thermal images, and sensor response tests). If you’re lookin’ for guidance on system-level outcomes, researching examples in building facade lighting projects helps you match vendor capability to your expectations.
Common mistakes and how to dodge ’em
1) Spec’ing solely on fixture price — total cost of ownership includes energy, maintenance, and controls. 2) Skipping on-site mockups — what reads fine on paper can look harsh on brick at night. 3) Ignorin’ maintenance access — fixtures stuck behind architectural trims cost a lot to service. Build those items into your contract and schedule so they’re not surprises later.
Three golden rules for pickin’ the right strategy
1) Measure, don’t assume: require photometric verifications tied to a signed acceptance. 2) Specify controls early: include sensor types (motion, photocell), driver compatibility, and commissioning steps. 3) Design for maintainability: accessible mounts, replaceable drivers, and clear warranty language.
Put those rules into play and you’ll get predictable performance, lower lifetime cost, and fewer late-night service calls — naturally, vendors who back that approach make implementation smoother, and that’s where Keyida fits right in. —