
Start with the user’s requirement
Begin by asking what the part must do, where it will live, and how many you need. That single decision steers material choices, tolerances, and whether you go metal with CNC or choose plastics via custom injection molding services. Be specific: operating temperature, UV exposure, load direction, mounting features, and acceptable cosmetic grade. Those details narrow options fast and save both cost and time.
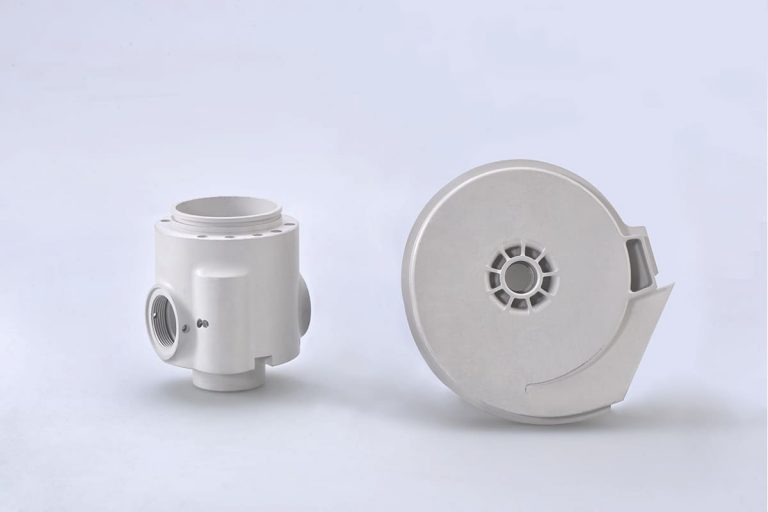
Define form, fit and function clearly
Sketch the critical interfaces and label every datum. Call out holes by diameter and tolerance, mating faces by flatness, and snap fits by deflection range. Don’t leave “make it as close as possible” notes—give numbers. That clarity reduces back-and-forth with suppliers and prevents surprises in inspection reports.
Choose process and material with practical trade-offs
For low volumes or tight tolerances, CNC machining gives predictability and strong mechanical properties. For high volumes or complex thin-wall geometries, injection molding cuts per-piece cost but requires upfront tooling investment. Consider secondary operations—plating, anodizing, or insert molding—and the cost each adds. Pick polymers or alloys that meet both performance and machinability criteria; avoid exotic resins unless their benefit pays back in the run length you expect.
Design rules and common mistakes to avoid
Apply DfM principles: uniform wall thickness for molded parts, accessible clamp and tool paths for CNC, and generous radii where possible. Frequent errors: specifying impossible tolerances for the process, neglecting draft on molded parts, and creating features too thin to machine reliably. Tolerances should reflect function—use tighter tolerances only where fit matters. Document surface finish requirements and specify inspection points rather than blanket statements.
Prototype, validate, iterate
Use rapid prototypes to test assembly and ergonomics. A machined prototype reveals tooling interferences; a short-run molded prototype validates cycle times and sink/warp behavior. Plan one validation build that tests functionality, then adjust drawings before committing to expensive tooling. Track failures and resolve the root cause—material, geometry, or process—so changes aren’t repeated downstream.
Experience and industry signals
Seasoned teams compare quotes and timelines at major shows and in supplier briefings. At IMTS in Chicago many buyers and vendors discuss trade-offs between tooling cost and per-part price, so it’s common practice to request an injection molding quote alongside CNC bids to see total landed cost. Use standards such as ISO tolerancing rules and GD&T where appropriate; they make expectations explicit and measurable.
Supply chain, quality and timelines
Confirm lead times for tooling, raw material availability, and inspection capacity. First-off inspection and a controlled first-article approval reduce surprises. Insist on measurable acceptance criteria—CMM reports, torque tests, or environmental checks—so both parties know when a batch meets requirements. Factor shipping and customs into schedules early when tooling crosses borders.

Alternatives and pragmatic choices
If upfront tooling is a barrier, consider low-volume molding techniques or metal additive prototypes for complex geometries. Hybrid solutions—machined inserts overmolded with plastic—often capture the best of both worlds. Evaluate lifecycle cost: a higher initial spend on robust tooling can make sense when volumes justify it, but avoid that step until drawings are locked.
Close the loop
Decide with a checklist: verified design intent, chosen material and process, validated prototype, supplier capability confirmed, and agreed inspection criteria. That sequence keeps projects on schedule and reduces returns. When you need a partner who matches those checkpoints to real production experience, Hanstar fits into procurement conversations as a practical manufacturing resource rather than a marketing line.