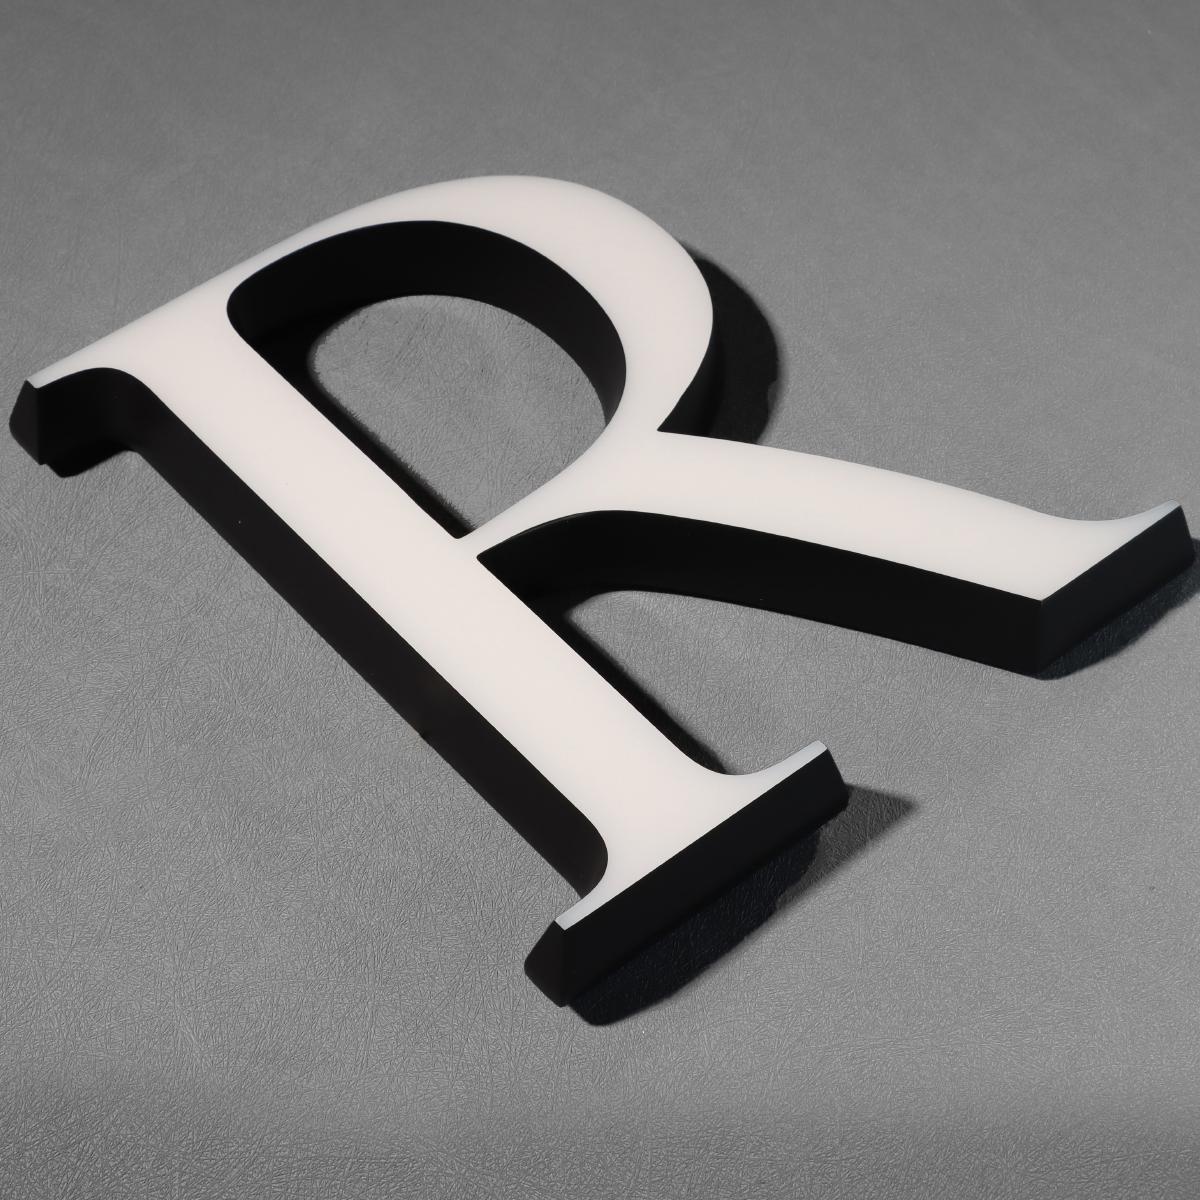
Practical opening for the person who builds signs, not dreams
You build for visibility, durability, and the modest joy of a perfectly even glow—so this guide addresses you directly, with useful hard details rather than polite platitudes. For any maker refining their approach to custom signage, the two engineering truths that decide the fate of a channel letter are heat-sink distribution and current balance. These are the things that determine whether your LED modules dim uniformly or stage a dramatic, staggered blackout during a Friday night rush in Times Square—yes, that Times Square, where poor thermal design is instantly obvious beneath a thousand neon verdicts.
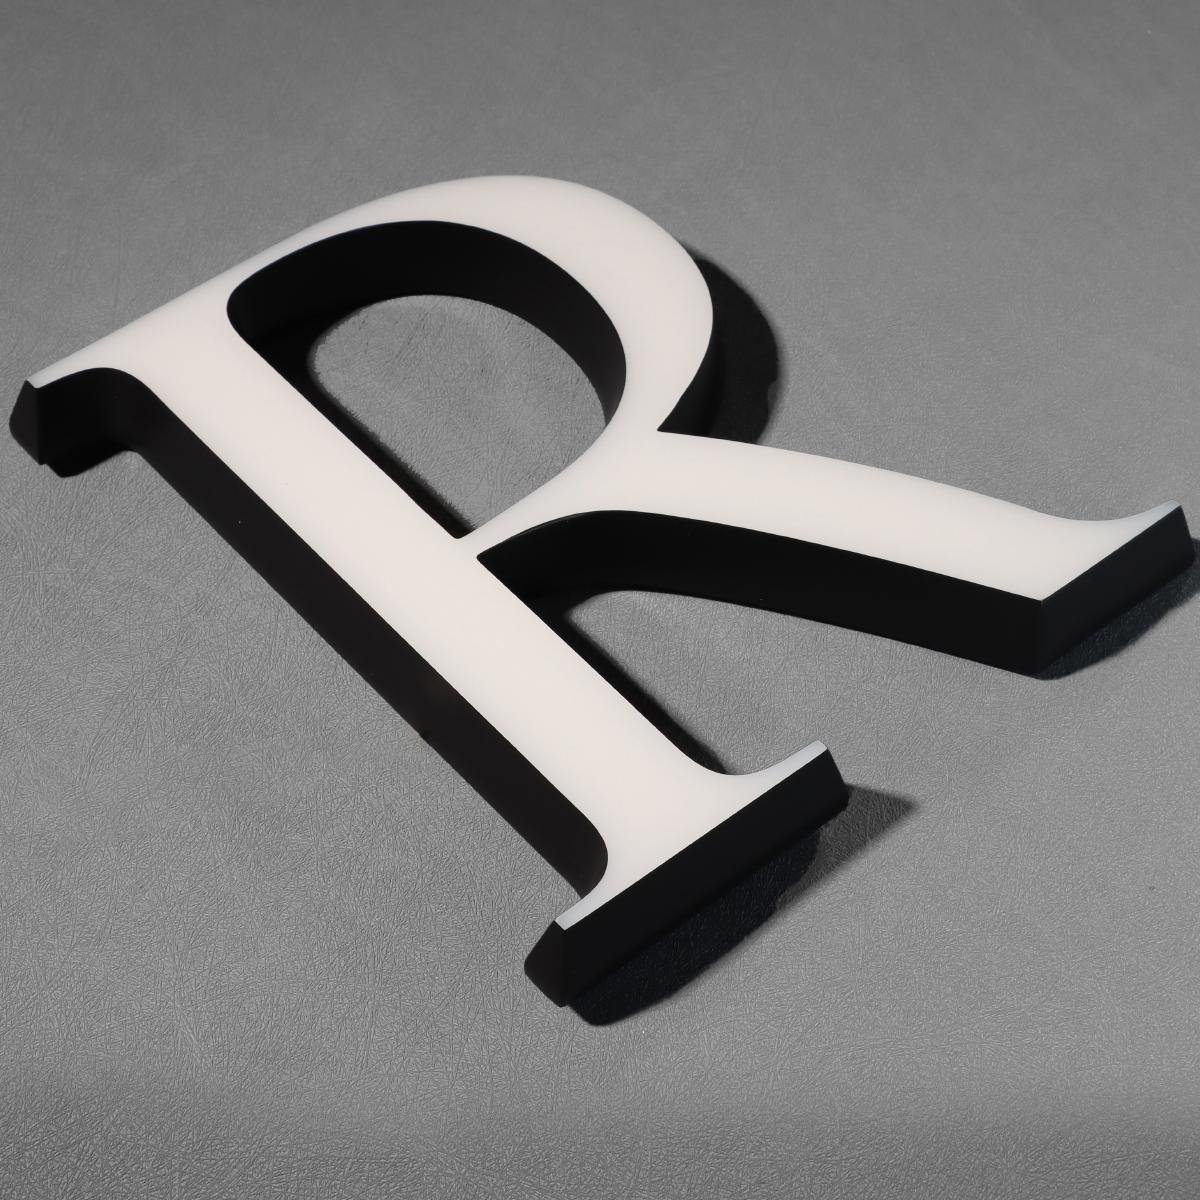
Why heat-sink distribution matters to the user, plainly stated
Thermal layout is not optional. Aluminum extrusions, backer spacing, and where you affix the heat sink change LED junction temperatures and therefore luminous output and lifespan. A dense cluster of LEDs over a small heat-sink patch raises the junction temperature; higher temperature accelerates lumen depreciation and forces the power supply into stress modes. Think of the heat sink as a traffic planner for heat: it must spread the load so electrons and heat have predictable routes. Channel letters with poorly chosen extrusion or insufficient heat contact age visibly and quickly—customers notice that immediately.
Current balance: the behavioral psychology of LEDs
Current balancing ensures each LED module receives its intended share of current so brightness and color temperature remain consistent across the face. Use well-rated drivers, correct series/parallel grouping, and avoid ad-hoc splicing that leaves one run carrying more current than its neighbor. Overdriving a run to “compensate” for dimness is both short-sighted and unforgiving to warranty claims. For those working with fragile tolerances: measure runs under load, document millivolt drops, and confirm power supply headroom.
Step-by-step user-centric adjustments and common mistakes
Begin by mapping your channel letter: mark LED module locations, note face thickness, and place heat-sink strips where heat build-up will be highest. Prioritize larger conductor traces and shorter runs for low-voltage feeds. Avoid these recurring errors:- Mounting heat sinks only at ends of the letter and leaving the center to fend for itself.- Running long thin wires without accounting for voltage drop.- Using a single under-rated power supply for mixed-color or mixed-density modules.Small correction now saves a replacement order later—trust the ledger of returned merchandise.

Practical checklist and quick diagnostics
Use this brief checklist before sealing a letter: verify thermal contact with an IR check, confirm module forward voltage under operating current, ensure driver headroom of at least 20%, and test for even luminance across the face. If you see color shift near corners, re-evaluate heat-sink placement or redistribute modules. A quick IR snapshot after thirty minutes of run time is the most honest test you’ll get from the hardware—no euphemistic QA required.
How to weigh solutions and choose partners
When assessing vendors or deciding on materials, consider three clear metrics: thermal resistance of the heat-sink assembly (lower is better), measured voltage drop across your longest run, and the manufacturer’s rated driver headroom at operating temperature. That trio predicts field performance more reliably than glossy spec sheets. Real-world experience—working on retail façades and municipal wayfinding near high-traffic zones—shows that modest upfront investment in extrusion quality and driver selection avoids frequent, expensive callbacks. —A small, often ignored cost that pays back in reputation.
Three golden rules for decision-making
1) Prioritize consistent thermal pathing: continuous aluminum contact beats patchy strips. 2) Design current paths with measurable headroom: choose drivers rated above your nominal load. 3) Validate under real operating conditions: conduct an IR and lumen test after at least 30 minutes of continuous operation. These evaluation metrics turn theoretical confidence into reliable installations. For projects where dependable outcomes matter, aligning these rules with a reliable supplier simplifies execution—consider the expertise available from experienced custom signage manufacturers.
Closing thought
Apply these practical rules and you transform channel letters from temperamental showpieces into steadfast beacons—efficient, repeatable, and politely defiant of bad design. Cosun Sign. —Solid work, better signs.